Psp Div3_lesson 194
French Translation by Sophie -Click on the banner below.
![]()

Thanks Sophie
Translated by Marion In English and German
Thanks Marion.
Click on the flag for translation.Any resemblance with an existing lesson is a coincidence
This tutorial was made with PSP 9 but can be done with other versions of Psp.
Without them, this lesson would not be possible.
The copyright belongs to the original artist.
Leave credit
with the creator.

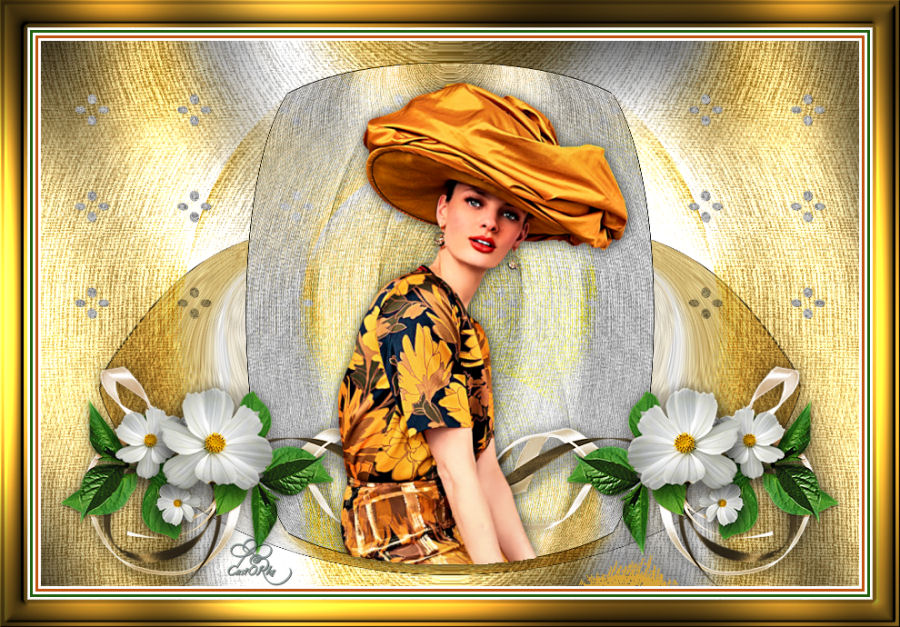
Take me with you, I'll show you where you left off.
![]()

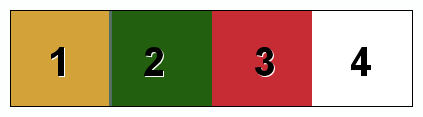
1. Open the color palette
2. Open the Background Image : les194_AG
3. Shift + D to duplicate, we continue working on the copy.
4. Open the tube : les194_deco_1
5. Edit-Copy
6. Activate your work.
7. Edit - Paste as new layer.
8. Pick Tool: (K) on your keyboard -Enter these parameters on the toolbar
Position X 63 - Position Y 218

9. Layers-Properties-Set the Blend Mode to " Multiply "
10. Open the tube: les194_deco_2
11. Edit-Copy
12. Activate your work.
13. Edit - Paste as new layer.
14. Do not move, it is the right place
15. Layers-Properties-Set the Blend Mode to " Luminance Legacy "
16. Open the tube: les194_deco
17. Edit-Copy
18. Activate your work.
19. Edit - Paste as new layer.
20. Pick Tool: (K) on your keyboard -Enter these parameters on the toolbar
Position X 37 - Position Y 50
21. Layers- Arrange- Move Down
22. Effects-3D-Effects-Drop Shadow with these settings: 1, 1, 60, 0 Color Black
23. Activate the top of the layer palette
24. Open the tube : Gabry-woman 63-18
25. Edit-Copy
26. Activate your work.
27. Edit - Paste as new layer.
28. Image-Resize 1x 75% and repeat again with this setting: 1 x 85%
29. Adjust-Sharpness-Sharpen
30. Effects-3D-Effects-Drop Shadow with these settings: 0, 0, 30, 50 Color Black
31. Open the tube : les194_deco_3
32. Edit-Copy
33. Activate your work.
34. Edit - Paste as new layer.
35. Pick Tool: (K) on your keyboard -Enter these parameters on the toolbar
Position X 9 - Position Y 345
36. Layers-Arrange- Move Down
37. Edit-Copy Special-Copy Merged.
38. Image - Add Borders-Symmetric checked: 3 Px -Color 4
39. Image - Add Borders-Symmetric checked: 3 Px -Color 3
40. Image - Add Borders-Symmetric checked: 3 Px -Color 4
41. Image - Add Borders-Symmetric checked: 3 Px -Color 2
42. Image - Add Borders-Symmetric checked: 3 Px -Color 4
43. Selections- Select All
44. Image - Add Borders-Symmetric checked: 30 Px -Color 1
45. Selections-Invert
46. Edit- Paste into Selection (is still in memory)
47. Adjust- Blur- Gaussian Blur-Radius 40
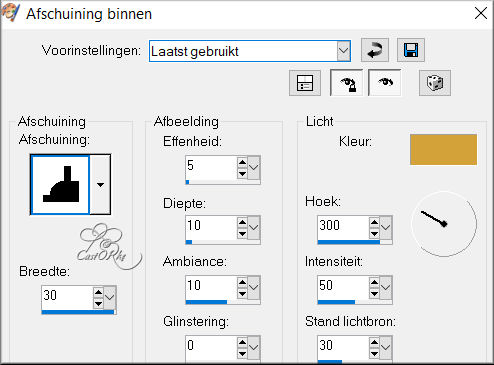
48. Effects-3D-Effects- Inner Bevel use the settings below (Nr 6 -Color 1 )
49. Place your name or watermark
50. Layers- Merge- Merge- All ( flatten)
51. Image-Resize-900 Px
52. Save as JPG
Please send it to me in original size.

Copying this lesson, in whole or in part,
without the author's permission is prohibited.
The lessons are registered with TWI.

©Webdesign Diane