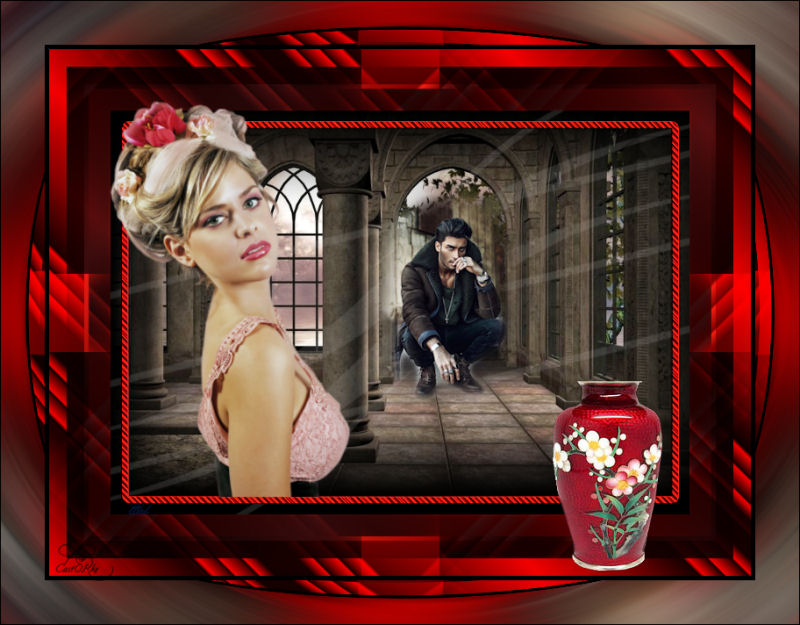
Psp Div3_lesson 176
Translated by Marion into French, English, German
Thank you Marion
Click on the flag for translation.
Any resemblance with an existing lesson is a coincidence
This tutorial was made with PSP 9 but can be done with other versions of Psp.
Thanks to the tubsters for the beautiful material
Respect their work, don't change anything about the tubes and don't say
they are your tubes
Without them, this lesson would not be possible.
The copyright belongs to the original artist. Leave credit with the
creator.

Take me with you, I'll
show you where you left off.
![]()
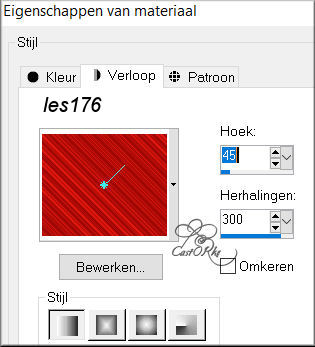
Gradient les 176
Put the gradient in your gradient folder of psp
1. File-Open a New Transparent Image in this size : 800 x 600 Pixels
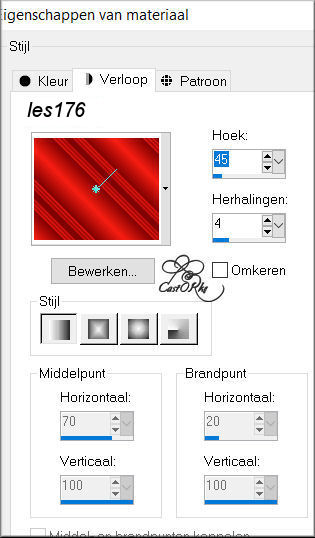
2. Set your foreground to Gradient and choose Gradient " les 176 Gradient"
Style Linear-Angle 45, Repeats 4
3. Flood Fill Tool – Fill the layer with the Gradient
4. Selectins-Select All.
5. Selections- Modify-Contract 45 Pixels
6. Selections- Promote Selection to Layer
7. Layers-Properties-Set the Blend Mode to " Dodge "
8. Selections-Select None.
9.Layers- Duplicate
10. Effects- Image Effects- Seamless Tiling using the default settings
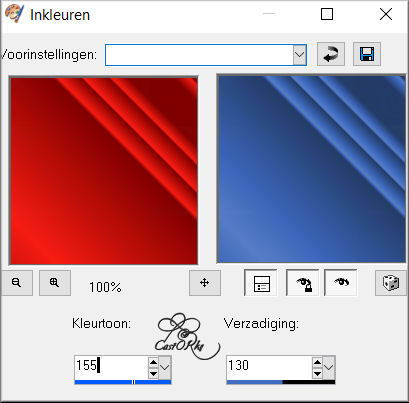
11. Adjust-Hue and Saturation-Colorize 155, 130
12. Adjust-Sharpness-Sharpen.
13. Layers-Properties-Set the Blend Mode to " Multiply"
14. Layers- New Raster Layer.
15. Selection- Select All
16. Selection- Modify-Contract 70 Pixels
17. Properties Foreground- Set the Foreground color to color Black
Flood Fill Tool-Fill the Selection with color Black (#000000 )
18. Layers- Merge- Merge Down
19. Layers- New Raster Layer.
20. Open the Tube : CAL-2254-102517
21. Edit-Copy.
22. Activate your work
23. -Edit - Paste into Selection .
24. Selection remains activated !!!!
25. Layers- New Raster Layer.
26. Properties Foreground- Set the Foreground color to color #d1cec9
Flood Fill Tool-Fill the Selection with the Foreground color #d1cec9
27. Open the mask Narah_Mask_1430 and minimize.
28. Layers- New Maske Layer-From Image and select Mask
29. Layers- Merge- Merge Group
30. Layers-Properties-Reduce the opacity of this layer to 20%
31. Selection- Modify-Contract 15 Pixels
32. Selections-Invert
33. Press Delete
34. Selections- Select None
35. Layers- New Raster Layer.
36. Set your foreground to Gradient and choose Gradient " les 176 Gradient" with the same settings
Flood Fill Tool-Fill the Selection with the Gradient
37. Selections- Select All.
38. Selection- Modify-Contract 40 Pixels
39. Press Delete
40. Layers-Properties-Set the Blend Mode to " Multiply"
41. Selections- Select None
42. Selections- Select All.
43. Layers- New Raster Layer.
44. Flood Fill Tool-Fill the Selection with the Gradient
45. Selection- Modify-Contract 20 Pixels
46. Press Delete
47. Layers-Properties-Set the Blend Mode to "Hard Light"
48. Selection- Select All.
49. Layers- New Raster Layer.
50. Selection- Modify-Contract 90 Pixels
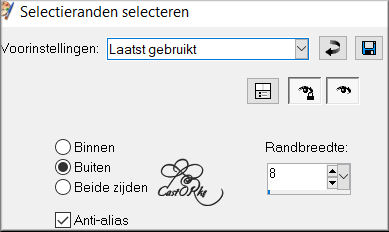
51. Selections- Modify-Select -Selection Borders 8 Pixels -Outside checked
52.Properties Foreground: Change the settings of the Gradient -Repeats 300
53. Flood Fill Tool-Fill the Selection with the Gradient.
54. Selections-Select None
55. Activate the bottom of the layer palette - Raster1.
56. Image - Mirror - Mirror Horizontal (Image - Mirror in older versions of PSP)
57. Open the Tube : cas_tube_2_6_dame_160211p
58. Edit-Copy
59. Activate your work
60. Edit-Paste as new layer
61. Image/ Resize 2 x 75%, 1 x 90%
Resize all layers-Not checked
62. Make a rectangular selection around the banner(logo) and press Delete.
63. Selections-Select None .
64. Move to the left side (see finished image)
65. Open the tube: castorke_tube_deco_24_092017
66. Image/ Resize 85%
Resize all layers-Not checked
67. Move to the bottom right.
68. Open the tube : kopie_2912020 Misted tube 7 of A PSP Devil -12-
69. Edit-Copy
70. Activate your work
71. Edit-Paste as new layer
72. Layers-Duplicate
73. Activate the layer underneath
74. Adjust-Blur- Gaussian Blur-Radius 15 %
75. Image - Add Borders-Symmetric checked: 5 Px -Color Black
76. Selection- Select All.
77. Image - Add Borders-Symmetric checked: 50 Px -Color #bf0000.
78. Effects- Image Effects- Seamless Tiling using the default settings
79. Selections -Invert
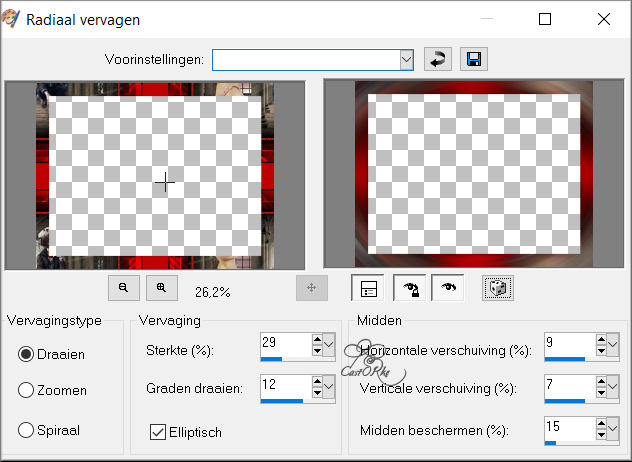
80. Adjust-Blur-Radial Blur use the settings below
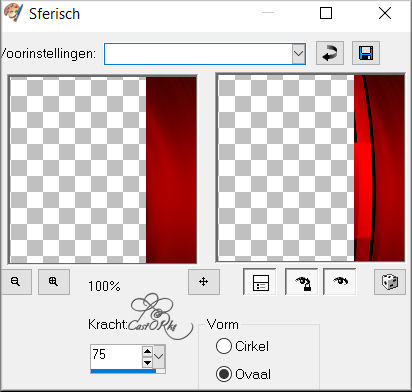
81. Effects-Geometric Effects -Spherize - Strength 75, Ellipse checked
82. Image - Add Borders-Symmetric checked: 1Px -Color Black
83. Selections -Select None
84. Image - Resize - 800 Pixels
Resize all layers- Checked
85. Add you watermark on new layer
86. Save as JPG
I am curious to see your work.
Please send it to me in original size.


The lessons are registered with TWI.

©Webdesign Diane