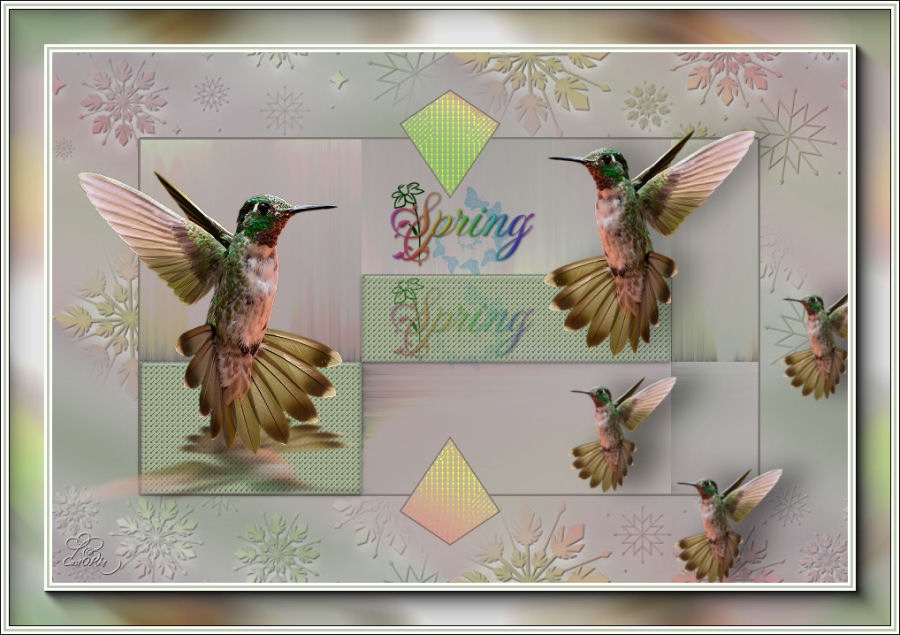
Psp Div3_les 220
Alien Skin/EyeCandy5/ Glass,
Alien Skin/ EyeCandy5/ Perspective Shadow,
*** VM Experimental/Magnetic Detection.
*** Import these filters into Unlimited 2

Take me, I'll show you where you left off.
![]()

Place the gradient in the folder gradients of psp.
Double click on preset castorke_les220
Color pallet:

1. Color 1 (FG-color #ffffff) color 2 ( BG-color #bdc8ae)
2. Open alfakanaal_les220
3. SHIFT + D to duplicate the image we will work on this.
Close the original.
4. Fill the layer with color 1 #ffffff ( withe)
5. New raster layer.
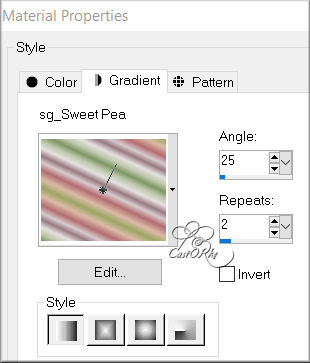
6. Fill with gradient:
sg_Sweet Pea - Lineair, Angle 25, Repeats 2
7. Adjust/ Blur/ Gaussian Blur 25.

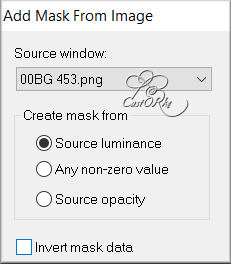
8. Open mask 00BG 453 and minimize.
9. Go to work
10. Layers / New mask layer / from image.
11. Layers / Merge / Merge Group.
12. Effects / 3D Effects / Drop Shadow == 1, 1, 100, 0 == color 4 black.
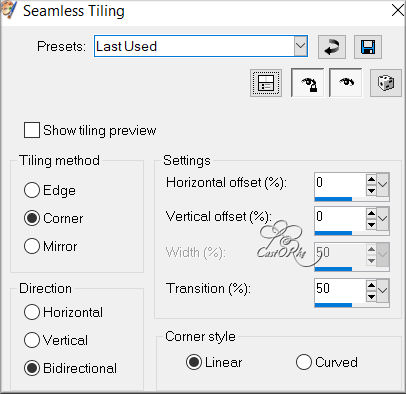
13. Effects / Image Effects / Seamless Tilling - Default Setting.
14. Layers / Merge / Merge Down.
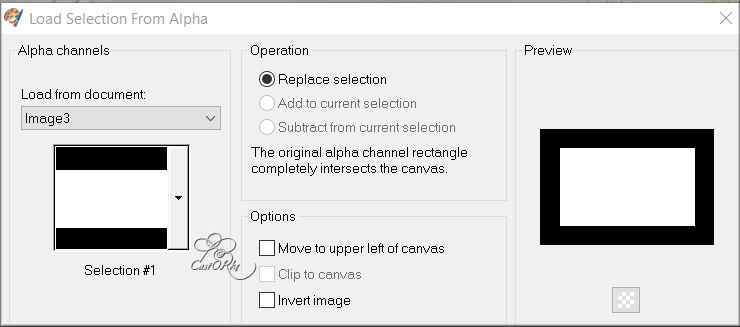
15. Selections / Load and save / Load from alpha channel - selection # 1
16. Selections / Promote Selection to Layer.
17. Selections / select NONE.
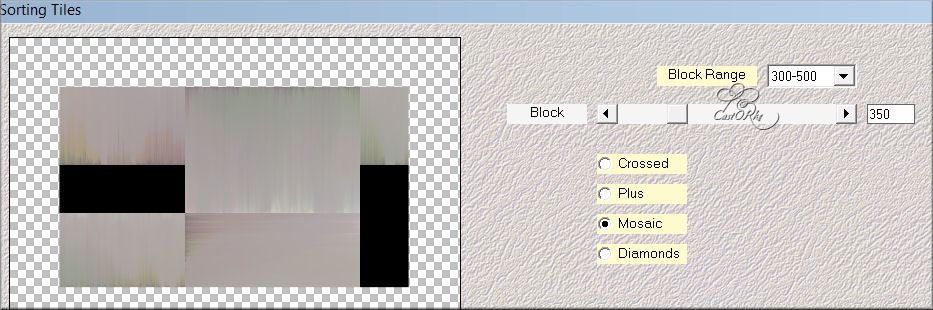
18. Effects/ Plugins/ Mehdi/ Sorting Tiles.
block range 300-500 == block 350 == Mosaic
19. Selections / Load and save / Load from alpha channel - selection # 1
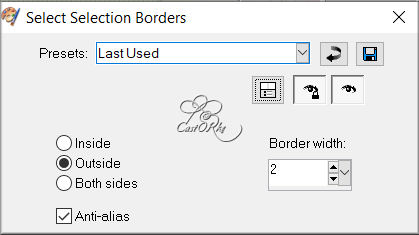
20. Selections/ Modify/ Select selections Borders .
Outside 2
21. Fill with Color 3 #807673
22. Selections/ Select NONE.
23. Selections / Load and save / Load from alpha channel - selection # 2
24. Selections / Promote Selection to Layer.
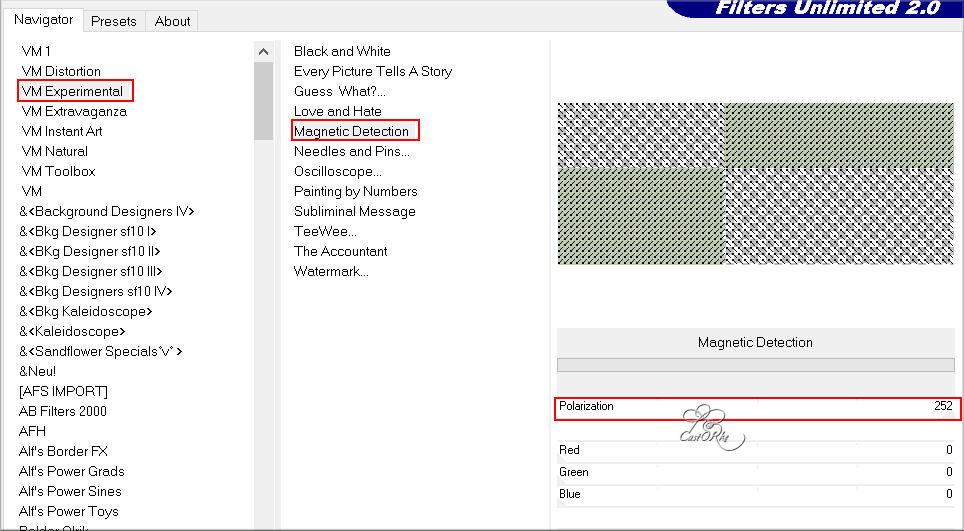
25. Effects/ Plugins/ Unlimited 2/ VM Experimental/Magnetic Detection. Polarisation 252
26. Effects/ Plugins/ Alien Skin/ Eye Candy5/ Glass ---Clear
27. Blend mode - Multiply.
28. Opacity 50
29. Selections/ select None.
30. Open deco_les220
31. Edit/ Copy.
32. Go to work.
33. Edit / Paste as a new layer.
34. Blend mode - saturation.
35. Selections / Load and save / Load from alpha channel - selection # 3
36. Activate the made selection. (2nd layer from the bottom)
37. Press delete
38. New raster layer
39. Layers / Arrange / Bring to the front.
40. Fill with color 3 #807673
41. Selections / Modify / contract 2.
42. Press delete.
43. Selections/ Select NONE.
44. Open TD_Tubes_Animales001
45. Edit/ copy.
46. Go to work.
47. Edit/ Past/ Past as New layer.
48. Image/ Resize . 50% percent.
Resize all layers DO NOT CHECK.
49. Image/ Miror.
50. Adjust/ Sharpness/ Sharpen.
51. Put in place.
52. Duplicate layer.
53. Image/ Mirror.
54. Image/ Resize 80% percent.
55. Put in place.
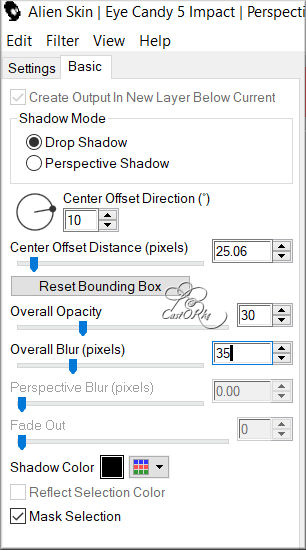
56. Effects/ Plugins/ Alien Skin/ Eye Candy5/ Perpective Shadow
57. Open deco_2
58. Edit/ copy.
59. Go to work.
60. Edit/ Paste /Past as New layer.
61. Move to positie X 578 positie Y 227
62. Adjust/ Sharpness/ Sharpen.
63. Activate raster 4
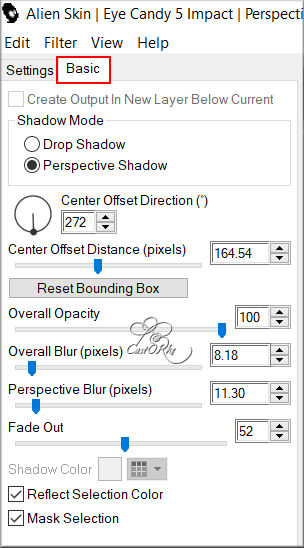
64. Effects/ Plugins/ Alien Skin/ Eye Candy5/ Perpective Shadow
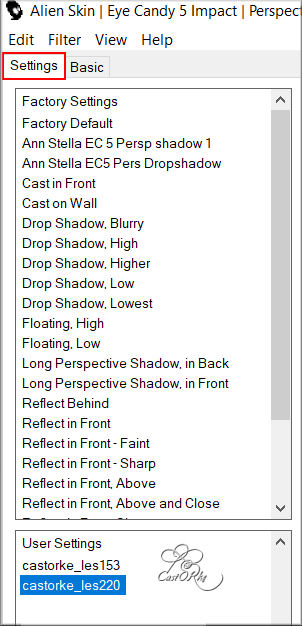
Click on castorke_les220 in settings or set it manually..
65. Open TD_Wordart_Spring_01
66. Edit/ Copy.
67. Go to work.
68. Edit/ Paste/ Paste as New Layer.
69. Move to positie X 379 positie Y 143
70. Blend mode - multiply.
71. Duplicate the layer.
72. Repeat duplicate the layer.
73. Verplaats naar positie X379 positie Y 251
74. Opacity 80
75. Image/ Add Borders 3 px color 1
76. Image/ Add Borders 3 px color 2
77. Image/ Add Borders 3 px color 1
78. Selections/ Select ALL.
79. Image/ Add Borders 40 px color 1
80. Effects/ Image Effects / Seamless Tiling - default.
81. Selections/ Invert.
82. Adjust/ Blur/ Radial Blur - default.
83. Effects/ Plugins/ AAA Frames/ Foto Frames - default..
84. Selections/ Select NONE.
85. Image/ Add Borders 3 px color 1
86. Image/ Add Borders 3 px color 2
87. Image/ Add Borders 3 px color 1
88. Place your name or watermark.
89. Image/ Add Borders 1 px color 4
90. Image/ Resize 900 pixels.
91. Save as .jpg


©Webdesign Diane